What you'll need: a picture frame, spray paint if you want the frame to be a different color, a pile of old magazines, scissors, paper that matches your frame's color, and some type of adhesive (I used Scotch double-sided roller tape).
1. Prepare the picture frame (optional): Take the glass and back out of the picture frame and spray paint the frame to be the color of your liking. I have a collection of frames that I've picked up at yard sales usually for no more than $.25 each.

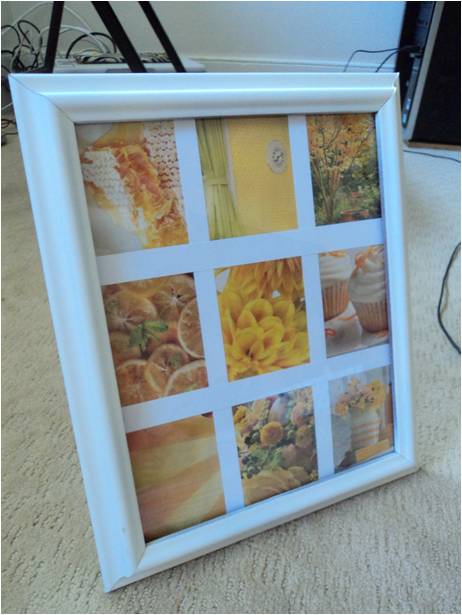
2. Find the right magazine images: While the paint is drying, hunt through magazines for images that are part of a tight color scheme. I was looking for pictures that were black and white and pictures that were yellow for the office, then pictures containing browns and greens for our living room. Make sure that you have a specific size in mind when looking for usable pictures: I needed my images to be approximately 2.5"x3.5" since my frame opening was 8"x10".

Another note about magazine images: make sure that they look like something. I think it's fun to look at mine and try to figure out what the bigger picture was, kind of like those magazine puzzles that show you the celebrity's eyes and you have to figure out whose face they belong on. Only I don't find pictures of cupcakes and lemons nearly as disturbing as a close-up of, say Michael Jackson's pupils.
And on the subject of things you don't want to see a close-up of: make sure that your pictures don't look like something you wouldn't display. For example, I found a cool picture of a yellow squash and was going to include it in my collection. But then, after looking at it more closely, it really looked more like a woman's hip. A woman's naked hip, to be exact. So, bye-bye,
3. Cut all of the images to be the same size. I used my paper cutter for ease, but this could also be done by hand.
4. Arrange and adhere the images on a piece of paper that will fit in the frame. I find it easy to use the piece that comes with the frame, since it will definitely fit in the frame. You know the piece I'm talking about: it usually says the size, possibly the price, and tends to include a nice picture of a tree or some small child playing on the beach.

5. Cut and adhere strips of the paper that matches your frame into strips large enough to cover the gaps between images. Even though I had cut my images with the paper cutter, there were still slight differences in size that definitely needed to be obscured. This will also mean that there is room for slight error, so your sizing, especially if cutting by hand, doesn't need to be as precise.

6. Place the entire piece back in its frame and--ta da! A new piece of "art" that looks a little like a window. The tight color scheme on each really help the whole thing look cohesive and like it was all destined to go together.

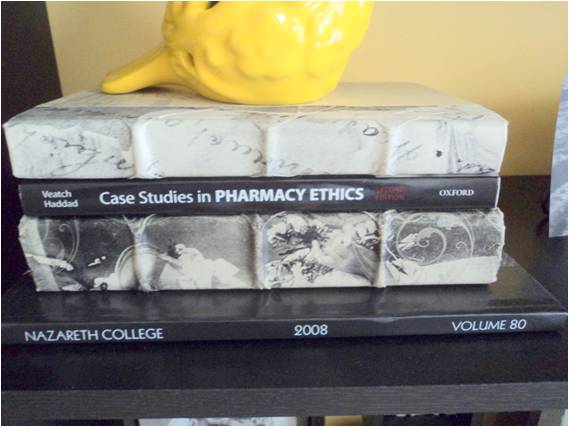
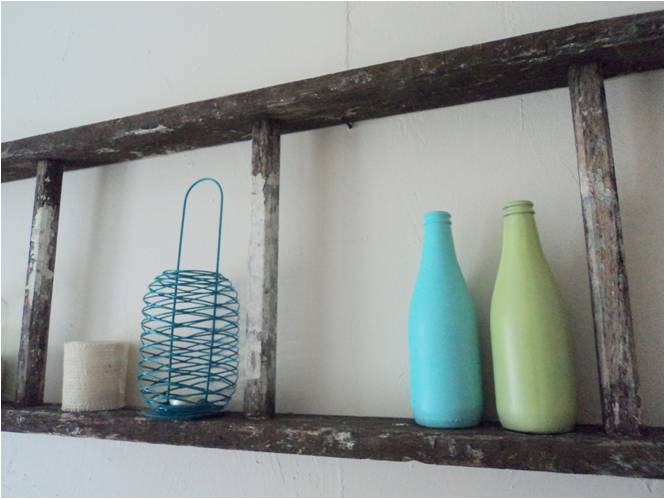
Here they are in their bookshelf context:

So how about you? What have you done with old magazines, besides toss them in the recycling bin? I have a pretty decent collection that is just dying to be cut apart--so let me know! :)